
W3 Total Cache Tutorial
There is no best caching plugin, only the best caching plugin for you. There are a lot of caching plugins available for WordPress but in my opinion W3 Total Cache is the most all encompassing. With this W3 Total Cache Tutorial you will be able to manage all types of caching and take care of other things important to website speed such as Minification. W3 Total Cache as your caching choice makes the most sense from an end user point of view
Overpowered?
You might not be able to use all of the plugin’s powerful plugins but if you ever switch to a Cloud VPS or Dedicated Server you certainly will, so it would be useful to get comfortable with this plugin in a shared environment. It is a plugin with many pages and might be confusing but you only need to enable some basic features covered in this W3 Total Cache Tutorial to take advantage of what this plugin has to offer.
This blog without W3 Total Cache enabled:

With W3 Total Cache enabled:

That is a massive difference in page load time!
Pingdom Testing
A quick note about Pingdom testing. When you first test you are testing without any caching so run another test after that to see what the speed is. I’m not sure what the timeout on the cache is. I believe it could be a minute so any tests ran within a minute of each other will be using the same cache.
Standard Configuration
So let’s assume you’ve gone ahead and installed W3 Total Cache. In this W3 Total Cache Tutorial I’ll just cover the General Settings. Navigate to the General Settings page under the new Performance section you’ll see in your sidebar. Ignore the top “General” section for now. You definitely don’t want to enable all caching type right off the bat. Rather than use Preview mode I prefer to enable a section and then test a page in a browser to make sure it’s rendering correctly. If your site is super busy you mighty want to enable the Preview feature.
Page Cache
Enabling the Page Cache creates static versions of your WordPress pages to visitors rather than executing PHP scripts and queries. By default the Disk: Enhanced method will be enabled. In the drop-down you’ll also see Memcached and (possibly) Redis available. Reddis is another database caching engine we use but it’s not installed by default on all our servers. My advice to you is to go through them all. Enable Disk: Enhanced and then do a page speed test on Pingdom. On shared servers I would recommend you keep the Page Cache to Disk: Enhanced and save your memory overhead for database calls. On a dedicated server or VPS you’d want to test and compare but in an environment where you have SSDs and almost unlimited memory then the difference is negligible.

Minify
Minification compresses html, css and js files reducing the page size and therefore improves page load time. This is an incredibly important section and you need to pay attention and check your pages are functioning correctly after enabling. Enable this with the checkbox and Minify mode should be Auto and Minify Cache Method must be Disk. Do not use Memcache/Reddis for this as could be a lot slower on a shared hosting server. You can confirm this by enabling Minify and doing a Pingdom test. Again, check your pages are rendering correctly after activating Minification as some theme/plugin CSS and JS files might not react favorably. It works out the box for me but your mileage may vary.

You will probably want to play with the settings for Minify and I’ll cover that in a W3 Total Cache Tutorial for advanced settings. If W3 Total Cache prompts you to empty the cache after any setting modification go ahead and do that and run the test twice on Pingdom to see the result.
There are many Minification plugins out there and I tested many. I found that W3TC’s Minify feature outshone them all. Some made my test scores worse, some broke the blog entirely. Some of the settings did break the site and I’ll go into that in a follow-up article. For me the default settings did not break anything.
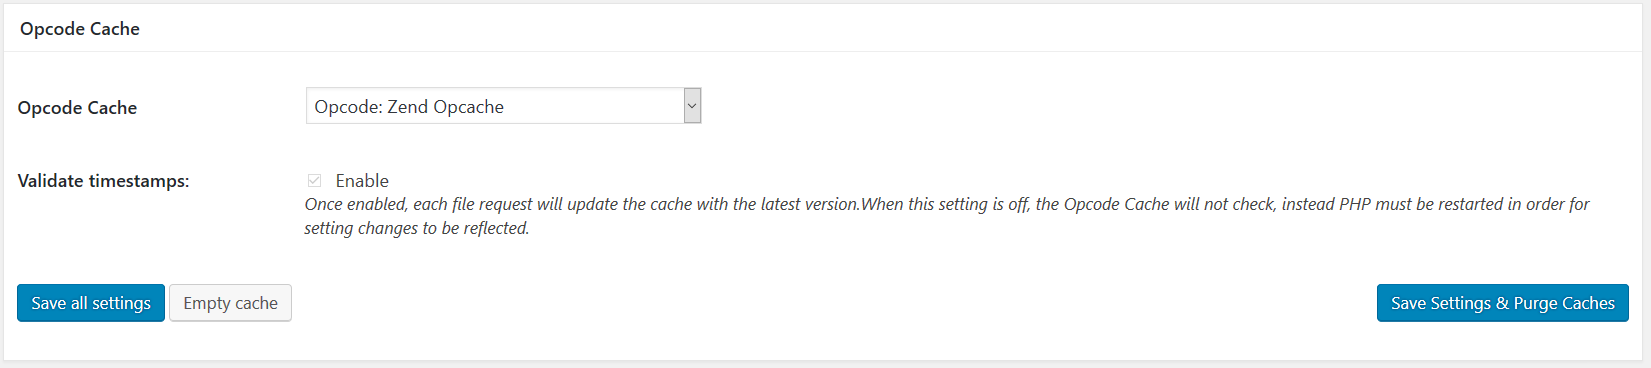
Opcode cache
Nothing to do here as Opcode: Zend OpCache should be enabled by default – assuming you are running PHP 5.5 or higher.
Database Cache
This section is largely redundant and just adds an extra layer of complexity to an already complex plugin.
I need to try and explain a few things here although a lot of this is technical and goes beyond the scope of a somewhat simple W3 Total Cache Tutorial. Feel free to skip the next few paragraphs and continue on to the conclusion below the image. :)
A “database cache” caches queries so common queries are not coming from the database but from a cache. First you have to understand that MySQL has its own default Query Cache. If you have a low-traffic standard blog that is just pulling posts you have no use for anything here as the server is already dealing with it. MySQL’s default Qcache (Query Cache) only caches SELECT queries and to draw from the cache the query has to be exact. If a row in a table changes at all the Qcache entries for every query accessing that table is invalidated. This can be a big problem with busy websites that have lots of comments and new posts. This is further complicated by the fact that the MySQL Query Cache only really supports MyISAM database structure. But WordPress is MyISAM out the box (although it can use InnoDB table architecture).
To solve this Coarse Cache Invalidation problem external caching mechanisms like Memcached are used. Query result sets are then cached in memory so even if a row in a table changes unaffected query results are still available. However, this is covered in the section Object Caching below.
So what does W3 Total’s Cache’s Database Cache actually do? Nobody knows. I’m serious. There is no official documentation for the plugin anyhow, but there are 1000 tutorials on the net. And no-one has addressed this. In its settings page it can overwrite a server’s configuration – but why would you want to cache CREATE, DELETE or SET queries? And if you’re on a server where Qcache is disabled this plugin is not going to help. The only thing that appears helpful in this Database Caching feature of W3TC is the object cache expiry but again, this is duplicated in the Object Cache section.

CONCLUSION: I’d like to see some load testing results from a high traffic blog with this enabled and disabled but there doesn’t seem to be any data available for this. So do you want to use the Database Cache in W3 Total Cache? Be my guest and try and test it. Test your blog with is disabled then enabled, and with it set to Disk or Memcached. As far I’m concerned this makes no sense. Leave it disabled and leave the Query Caching to MySQL’s native Qcache function.
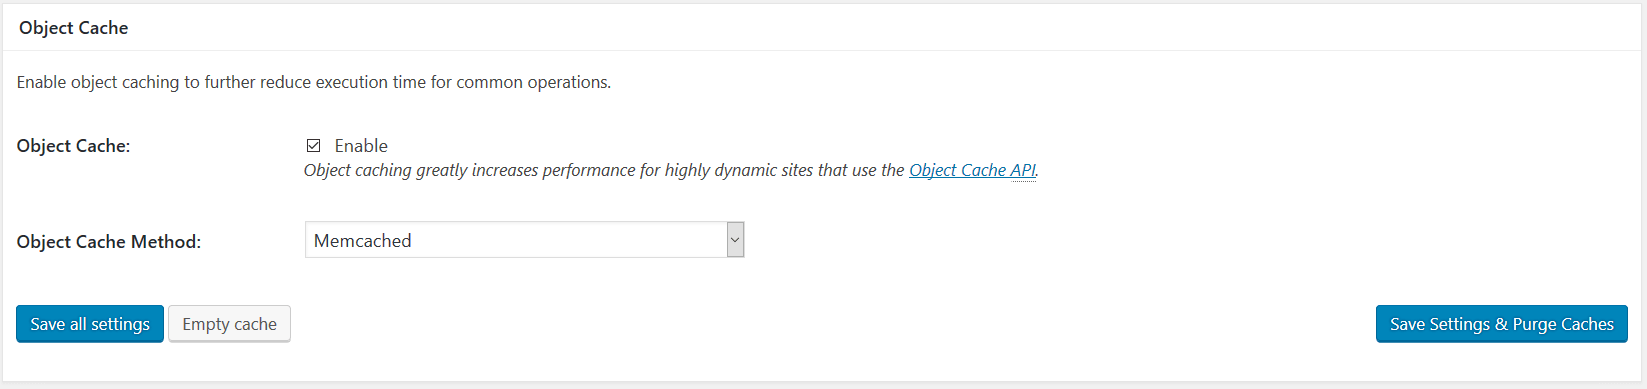
Object Cache
Now this is where the power of Memcached can be truly leveraged. Memcached was built to be a high-performance, distributed, persistent memory object caching system. If you have a complex, medium to high traffic blog with filters (e-commerce comes to mind or a dating site) and particularly large data sets then Memcached is going to make a huge difference. Memcached caches whole result sets whereas MySQL Query Cache caches rows that can be easily invalidated. Due to this kind of object caching the load on a server can be drastically reduced as Query Cache invalidation will eat CPU cycles and put a drain on disk I/O.
If you have a blog with a couple hundred visitors a day you probably won’t see any performance boost in using the Object Cache. However, if you have significant traffic with WooCommerce or other non-standard WordPress function and you have the resources to spare Object Caching is a must. Not many hosts offer this on shared hosting but as we have SSD arrays and 256gb memory per server we can get away with it. If your site is super busy you might even be better off disabling this – or upgrading your account to a plan with more resources. If you don’t have enough memory and you use Memcached, your site will actually be slower.
Browser Cache
Enable this. This will insert .htaccess rules that control Leverage Browser Caching. You’ll need to enable some more rules on another page labelled “Browser Cache” on your sidebar menu. More on that later.

CDN
If you use a CDN this is where you’ll add it. You’ll notice that CloudFlare is missing. To enable it you first need to go to Performance > Extensions and activate it and add your API key.

Reverse Proxy
At HostNexus we use Nginx (pronounced “engine-X”). Nginx sits in front of Apache and acts as a reverse proxy serving cached content to users. This section in General Settings is specifically for Varnish which is another proxy server. Nginx does the same job and also serves cached static content over HTTPS which is something that Varnish can’t do. So no need to worry about this section.

That wraps it up for the General Settings section. There will be a follow-up post in a couple of days where I take a more in-depth look at each section’s setting.


Add Comment